Archives like ZIP and RAR compress files for easy transfer and storage. Mac users can unzip files easily using the built-in Archive Utility, Finder, Terminal, or third-party apps like Commander One. Double-clicking a ZIP file usually suffices, but for more features or different formats, other tools may be necessary. Stay tuned for a detailed tutorial in the next forum post!
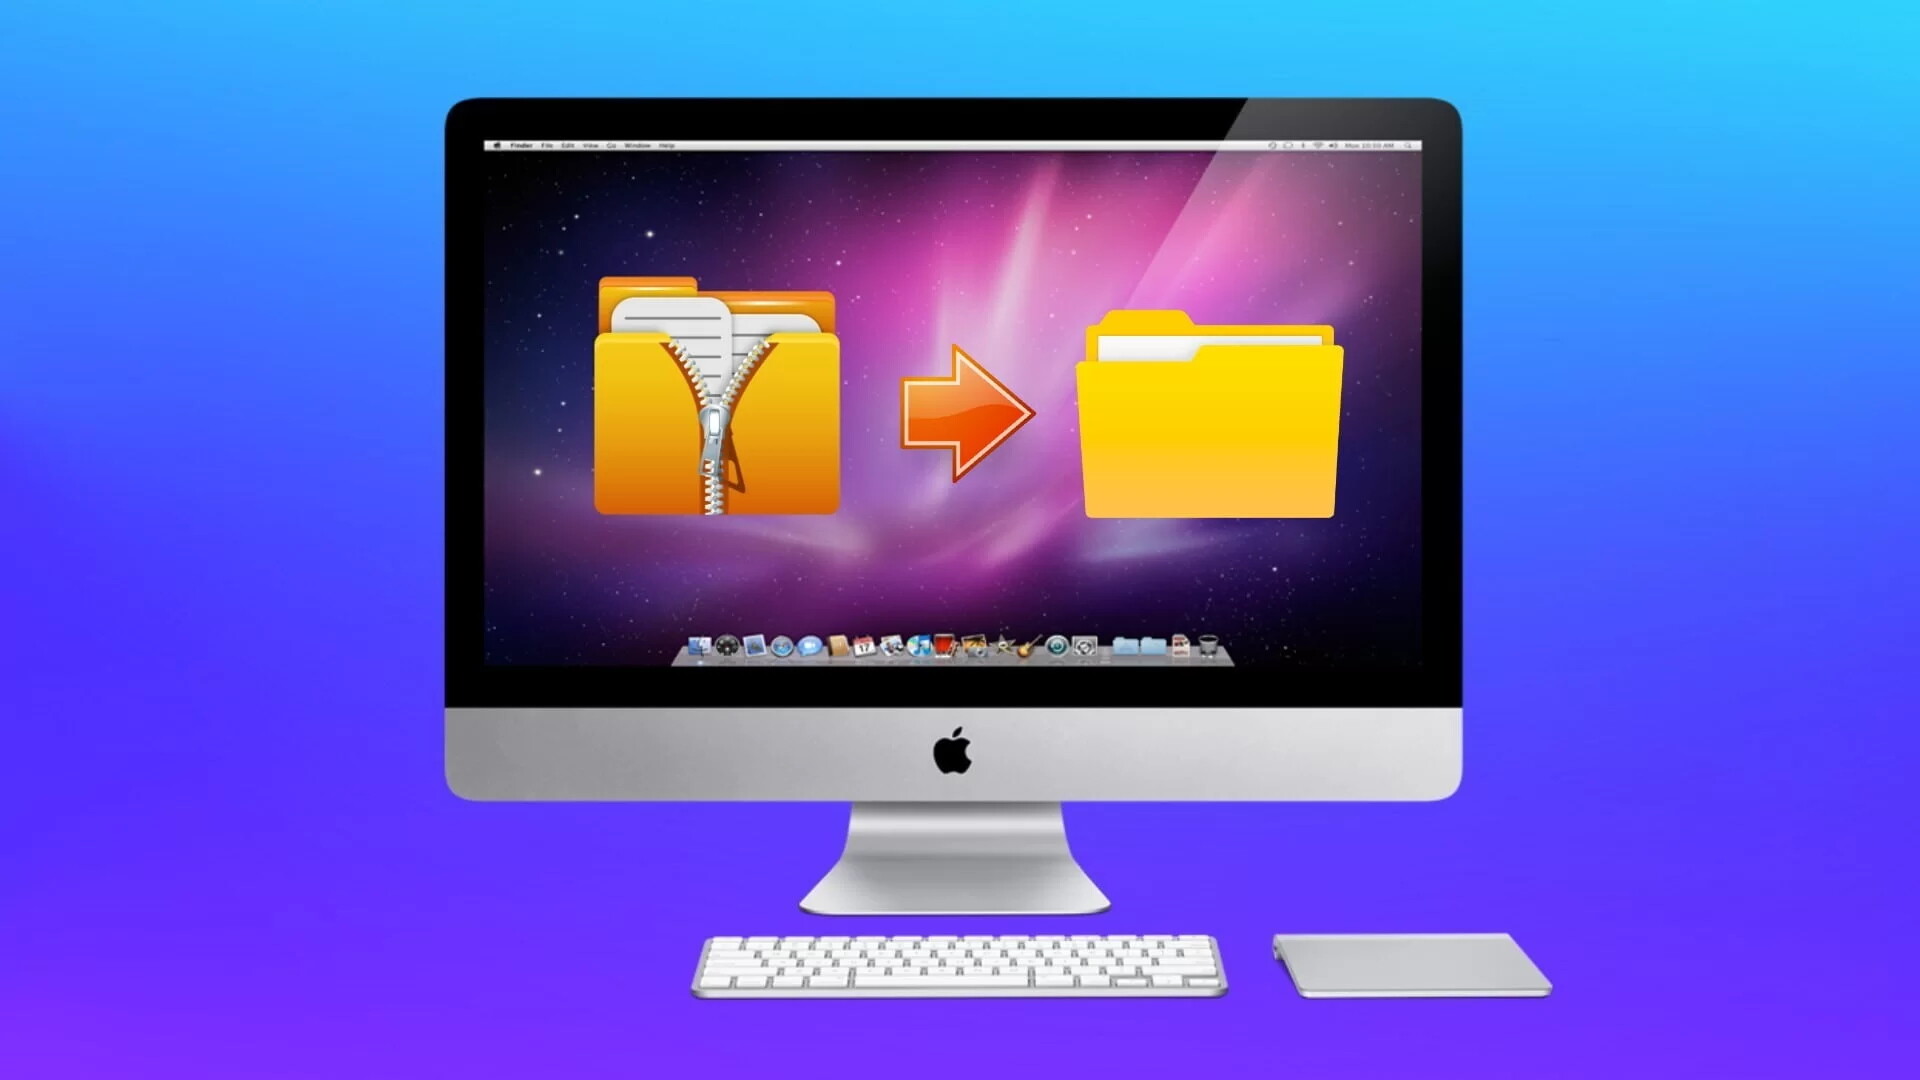
Archives and Compressed Files: A Quick How-To for Mac Users ![]()
Hey folks! If you’re anything like me, you’ve probably come across archives and compressed files. They’re super handy because they save space and make it a lot easier to email or store stuff. You typically see formats like RAR and ZIP, but there are loads of others too.
So, Mac users, wondering how to unzip files on your Mac? Let’s dive in! ![]()
![]()
Unzipping Files on a Mac: The Basics
Got this question the other day: ‘How do I unzip a file on my mac and then upload it to a flash drive?’ Here’s a thread from the Apple Support Community that had some answers.
ZIP files work by squishing files and folders together into one neat package. It’s a lossless way to bundle things up, often used for easier and more convenient transfer. ZIP files can be protected with a password or have comments added. To get the goods inside, you gotta extract them.
The simplest way? Just double-click the .zip file! Your Mac will open it up and show all the hidden goodies inside. Both Windows and macOS can handle ZIP files natively, so you don’t need any fancy extra software.

For more features or to open other formats like RAR or 7Z, you might want to check out some third-party apps. But for basic .zip files, the built-in Mac Archive Utility usually does the trick.
Method 1: Unzipping Files Using Finder
Unzipping on a Mac is super easy—basically a no-brainer. Just double-click on that ZIP file in Finder or on your desktop, and voilà! Contents will be extracted automatically into the same folder. Here’s how you do it:
- Open Finder.
- Locate the ZIP file you wanna unzip.
- Double-click that ZIP file.
- Boom! The files will unpack right there.
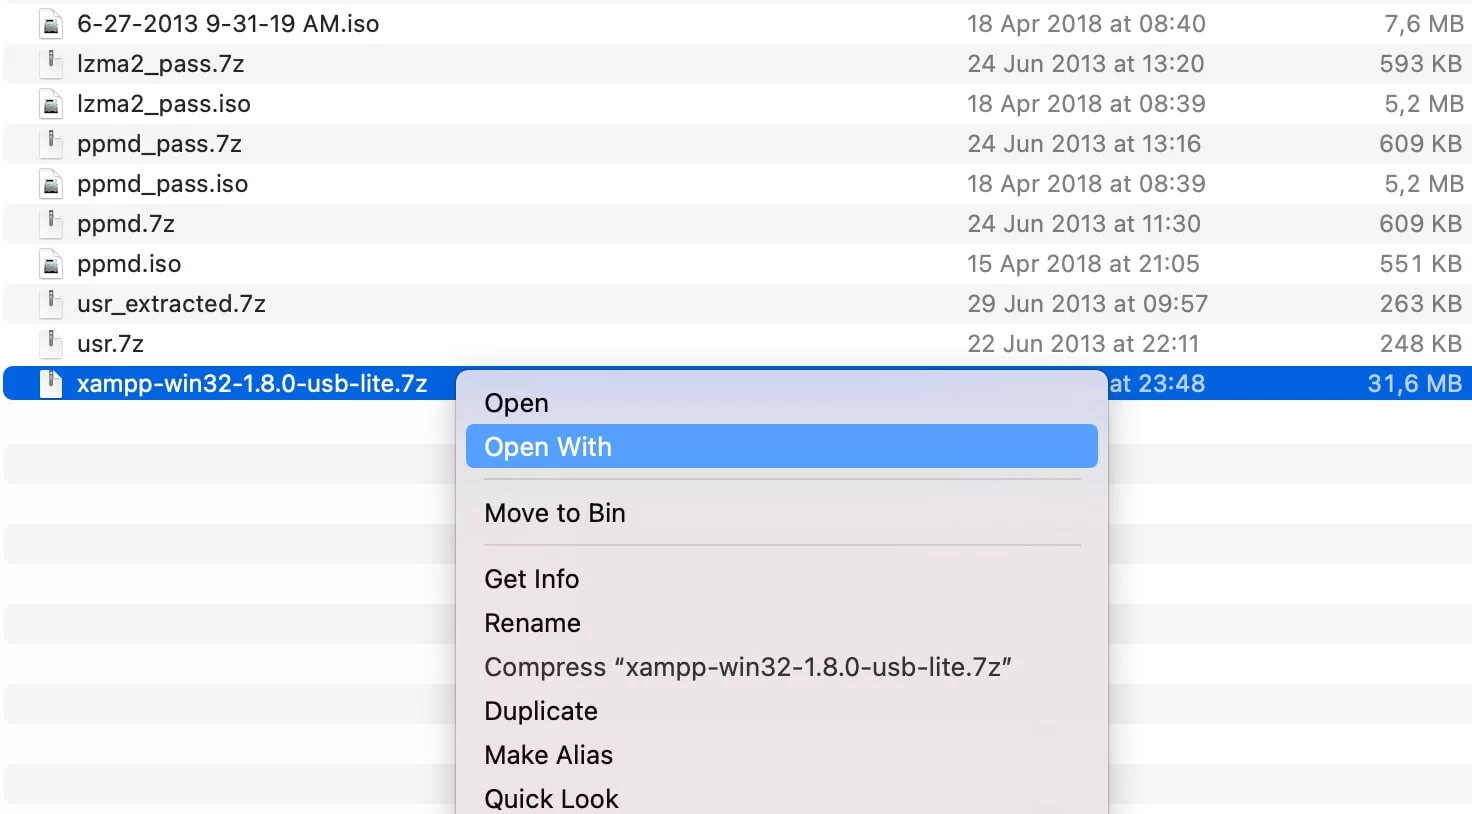
If you’ve got multiple files zipped together, they’ll be unpacked into a folder with the same name as your ZIP file. Alternatively, right-click the ZIP archive and select ‘Open.’
Method 2: Unzipping with Archive Utility for More Options
You can also use the Archive Utility for more advanced unzipping options. By default, double-clicking a file will do the job, but if you need more control:
- Open Archive Utility.
- Go to Archive Utility > Preferences.
- A window will pop up with additional options.
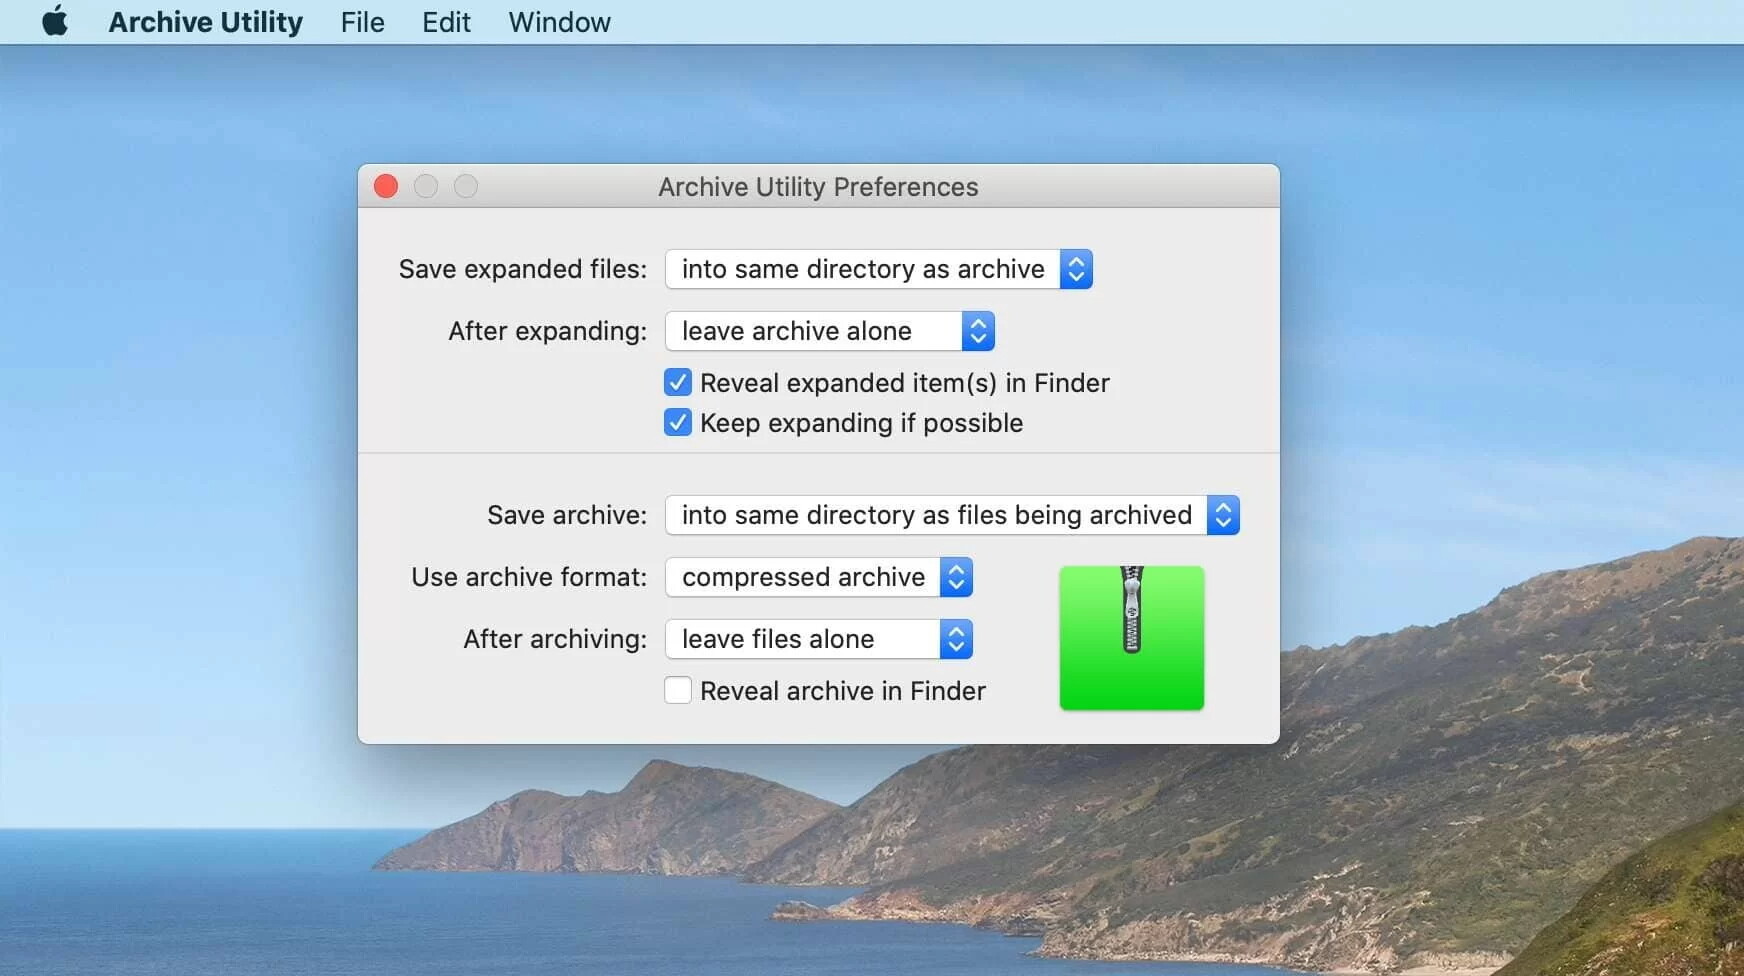
Here’s what you’ll find in those options:
-
Save expanded files: Choose where the unzipped files land on your Mac. By default, they go into the same directory as your archive, but you can change it to wherever you want by expanding the pop-up menu, selecting ‘Into,’ and picking the destination folder.After expanding

-
What happens after expanding?

- Leave the archive alone: You can keep the original archive file as it is.
- Move archive to Bin: If you’re done with it, just toss it in the Bin.
- Move to a specific folder: Select a target folder for all your expanded files.
-
Show expanded item(s) in Finder: If you turn this on, Finder will highlight all the files you’ve just decompressed. Super handy if you want to move them somewhere else.

-
Keep expanding, if possible: When this option is checked, Archive Utility will keep on decompressing any other archives it finds inside the one you’re expanding.
 within !
Method 3: Use Third-Party Apps to Unzip Files on Mac 
Sure, Mac’s built-in Archive Utility is pretty simple to use, but it’s a bit limited and doesn’t support every file format out there. If you need something more versatile, especially for RAR files, you’ll want a third-party app.
Go-to Option: Commander One 
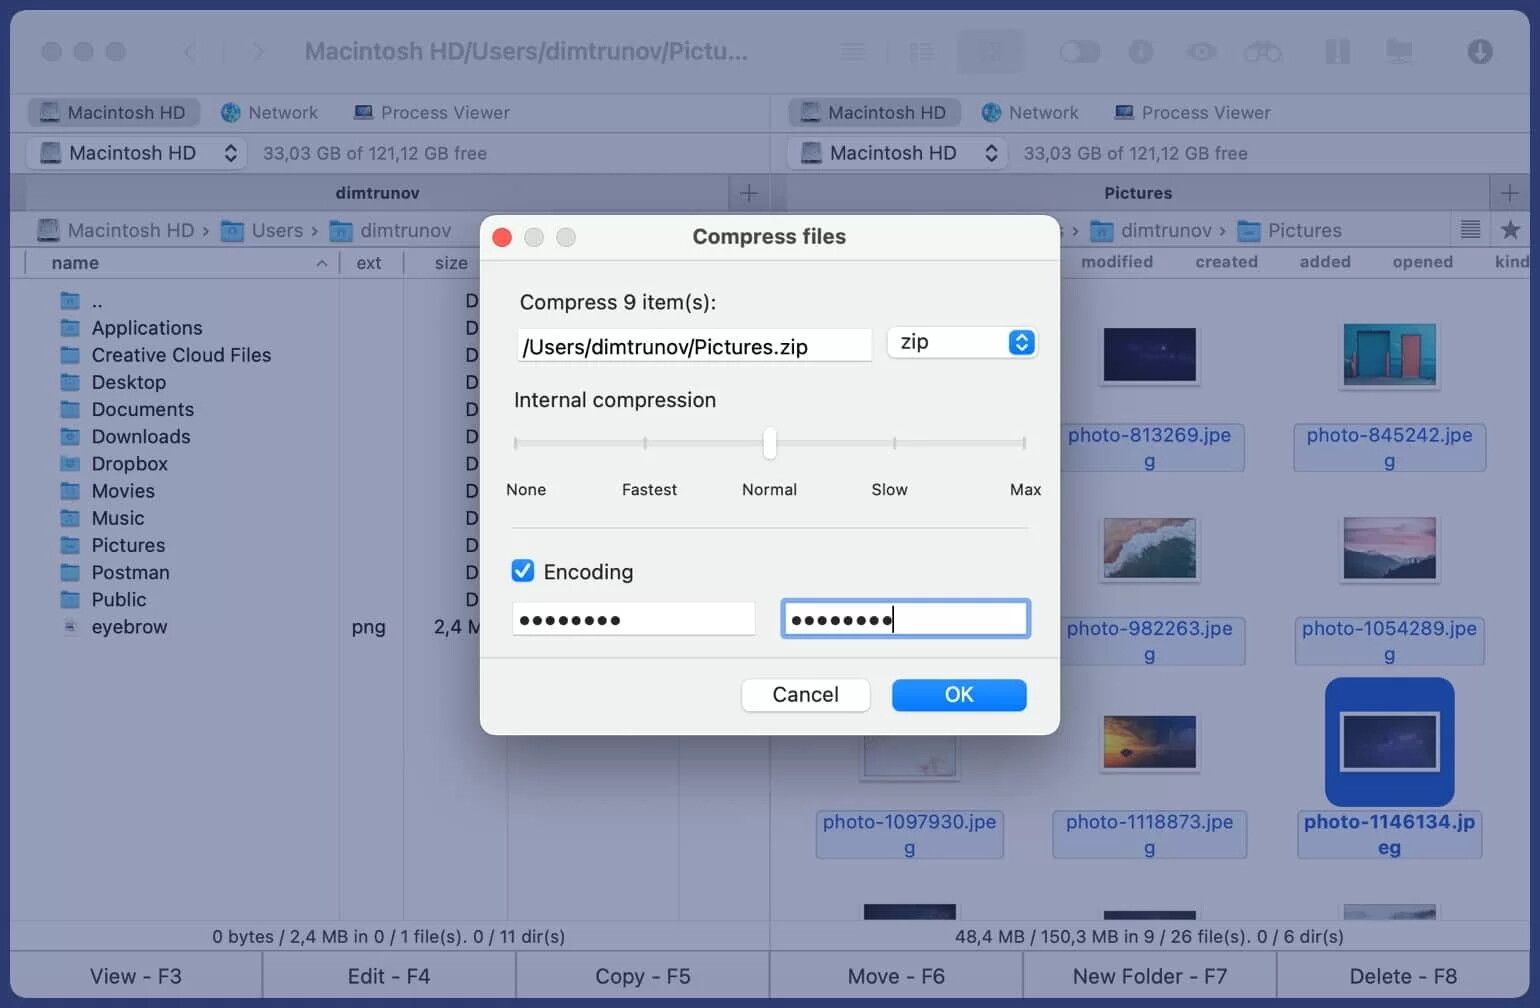
If you need a robust tool, Commander One is your best bet. It handles ZIP, RAR, 7Zip, TBZ, and TGZ archives with ease. Plus, you can pack files into archives and even add password protection. It’s got an advanced search feature too!
Commander One lets you:
- Move files between archives without unpacking.
- Add or delete files inside an archive.
- Preview archive contents by just double-clicking.
How to Use It:
- Download and launch Commander One.
- Find your archive that you want to open.
- Double-click to preview the contents.
- Right-click and select ‘Extract file’ to unpack it.
Boom! Your files will be extracted in no time.
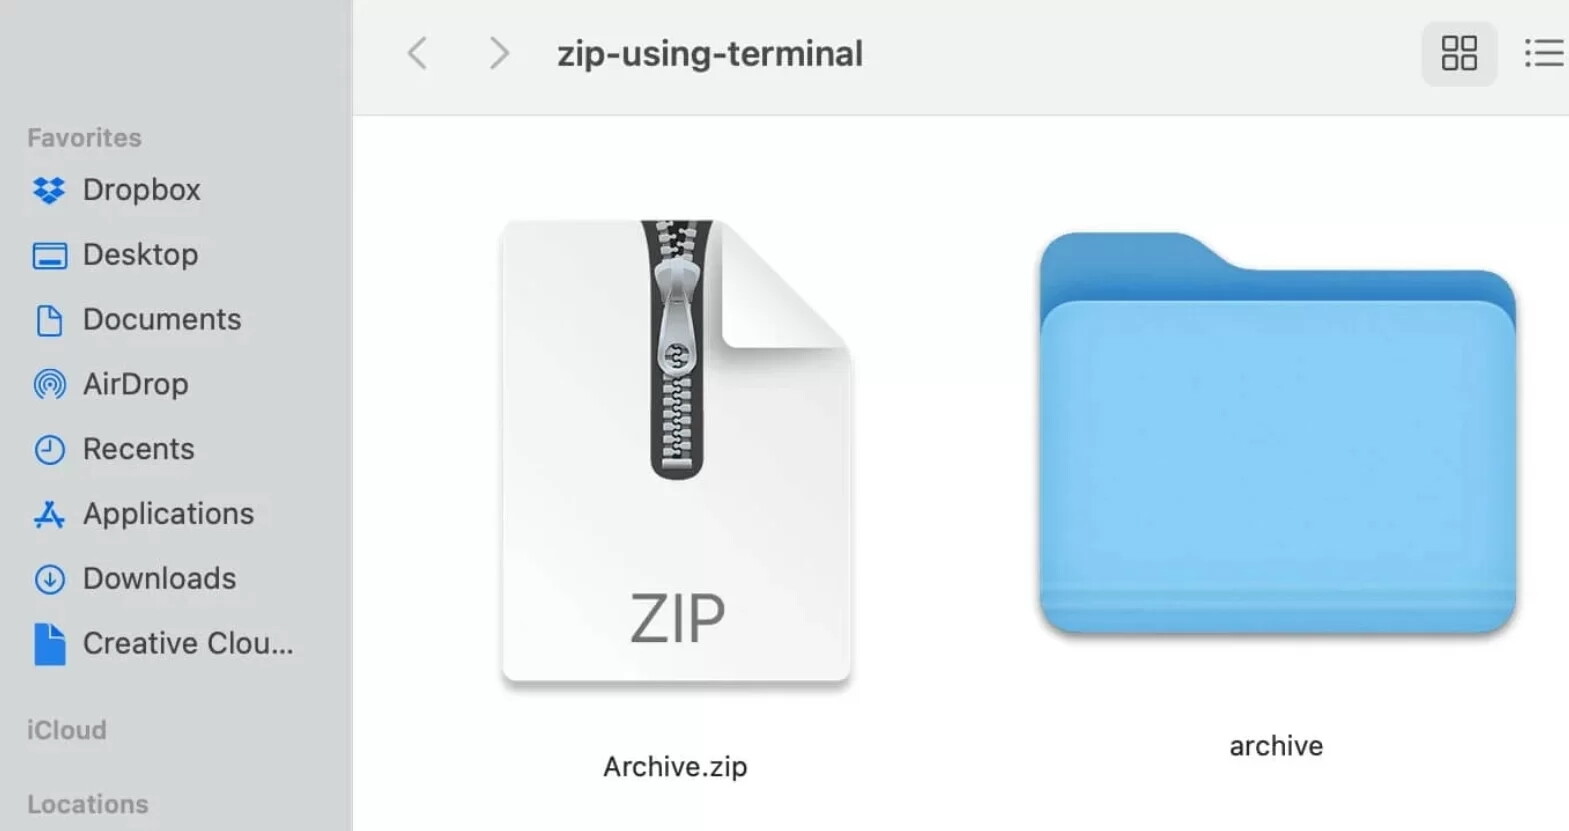
Method 4: Open .Zip File on Mac using Terminal 
If you’re more of a Terminal person, this method is for you. Opening .zip files through Terminal isn’t tough, but it can feel a bit clunky for some folks. Here’s how you do it:
- Open Terminal using Launchpad or Spotlight.
- Move your .zip file to the desktop for easy access.
- In Terminal, type
cd desktopand hit Enter. - Then type
unzip file-name.zip.
You’ll see some code running, and voilà, your file is unzipped right on the desktop.
Conclusion 
Opening zipped files on Mac is pretty straightforward—double-click, set some parameters, and you’re good to go. However, Mac’s built-in tools can’t handle all file types, like RAR. So, having a reliable app like Commander One is a lifesaver. Enjoy unzipping! ![]()