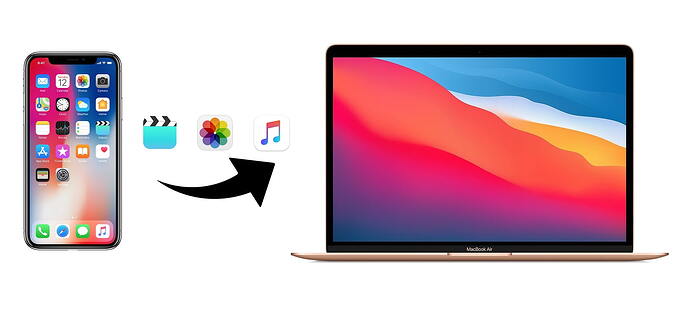
Apple has discontinued iTunes in macOS Catalina, replacing it with separate Apple Music, TV, and Podcasts apps. For file transfers between iPhone and Mac, users can now use methods like AirDrop, Commander One, MobileTrans, EaseUS MobiMover, and iCloud Drive. Each tool offers distinctive features and step-by-step guides for seamless file transfers without iTunes. AirDrop allows wireless file transfers, while Commander One, MobileTrans, and EaseUS MobiMover require a USB connection. iCloud Drive is useful for document sharing. Stay tuned for our next forum post, where we’ll explore these methods in more detail.
Hey everyone! So, with macOS Catalina, Apple has split iTunes into three different apps – Apple Music, TV, and Podcasts. Yeah, they officially bid farewell to the OG iPhone-syncing program we all used to rely on. So what’s next? How do we transfer files between iPhone and Mac without iTunes? No worries, I’ve got you covered. Read on for more details!
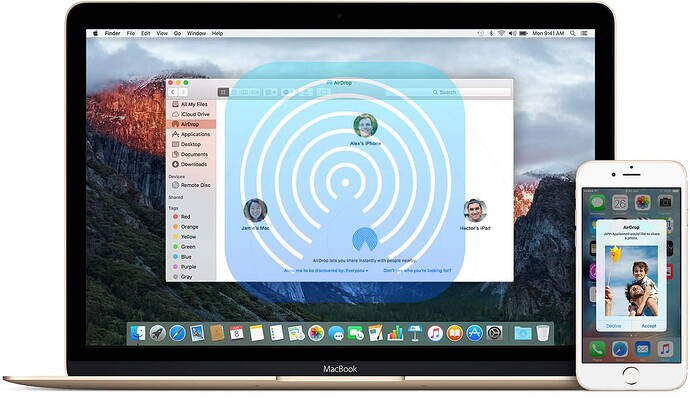
Transfer Files from iPhone to Mac Wirelessly via AirDrop 
First off, you can use AirDrop to get those iPhone files onto your Mac. AirDrop works on all iPhones running iOS 7 or later and Macs with OS X Lion or later. That means even if you’ve got some older devices, this is still gonna work for you!
But here’s the catch: both devices need to be on the same Wi-Fi network. Oh, and don’t forget to enable Bluetooth and make sure your device is discoverable by AirDrop, or else you’ll run into some ‘AirDrop not working’ issues.
The cool part? No file size limits. You can send videos, photos, music, documents—basically, most file types. For this guide, let’s focus on how to transfer photos from your iPhone to Mac. ![]()
Supported content: Photos, Videos, Contacts, Documents, and more.
How to Transfer Files from iPhone to Mac via AirDrop 
Step 1. Turn on AirDrop on your Mac:
- Open Finder, click Go, then click AirDrop.
- Turn on Bluetooth and Wi-Fi.
- Choose ‘Allow to be discovered by’ set to either ‘Everyone’ or ‘Contacts Only’.
Step 2. Turn on AirDrop on your iPhone:
- Open Control Center.
- Press and hold the Bluetooth icon until the extended menu pops up.
- Tap the AirDrop button and pick either ‘Contacts Only’ or ‘Everyone’.
Step 3. Transfer those files:
- Open the Photos app on your iPhone and select the photos you want to transfer.
- Click the Share button at the top, then select AirDrop.
- Wait for your Mac’s name to show up, then click its icon.
- Confirm on the Mac by hitting the Accept button when prompted.
And that’s it! You should be able to easily transfer files between your iPhone and Mac wirelessly using AirDrop. Hope this helps you guys out! If you run into any issues or have questions, feel free to ask below. ![]() ## Transfer Files Between iPhone and Mac via Commander One
## Transfer Files Between iPhone and Mac via Commander One
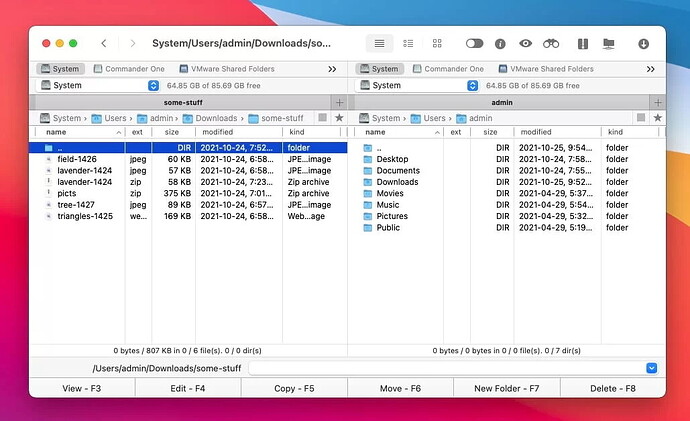
Hey folks! If you’re juggling files between your iPhone and Mac, Commander One is an all-in-one solution that brings file management directly to your Mac. It’s super convenient because it works with Macs, iOS devices, MTP, and even Android devices! ![]()
![]()
Besides, it packs in some cool features like a Terminal emulator, remote server access, and cloud computing goodies.
How to Transfer Files from iOS Devices to Mac 
- Download Commander One and install it on your computer.
- Connect your iPhone to Mac using a USB cable.
- In the Finder sidebar, find your phone.
- Select iPhone and click ‘Trust’ in Finder’s window.
- On your iPhone, click ‘Trust this device’.
- Reconnect your phone using the USB cable.
- Open Commander One, and you’ll see your iPhone mounted as a local drive.
MobileTrans
Another handy app to move files from Mac to iPhone (sans iTunes) is MobileTrans. This app lets you transfer photos, texts, contacts, music, and videos with ease. It’s designed for everyday users and doesn’t demand any tech wizardry. ![]()
How to Access iPhone Files on Mac via MobileTrans 
- Download MobileTrans and connect your iPhone to Mac using a USB cable.
- Launch MobileTrans and select the transfer option.
- Choose the file you want to transfer and click the Start button.
- MobileTrans will list out all files ready for transfer.
- Click Start, and soon your files will be backed up to your Mac.
EaseUS MobiMover
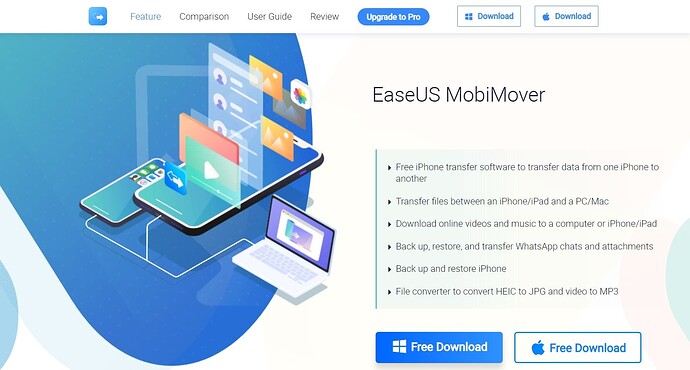
EaseUS MobiMover is a multifunctional file manager that’s got more features than classic iTunes. It works on both Windows and macOS and helps transfer files from your iPhone to a computer. Plus, it’s free! ![]()
How to Transfer Files from iPhone to Mac Tips 
Note: Ensure your iPhone is on iOS 8 or later, and your Mac has macOS 10.12 or later.
- Connect your iPhone to Mac with a USB cable and tap ‘Trust this computer’ on your iPhone.
- Run EaseUS MobiMover on Mac and choose ‘iDevice to Mac’.
- Select the files to transfer. You can pick multiple files if needed.
- Choose a storage path by clicking the file icon, or it’ll default to the Mac desktop.
- Click the ‘Transfer’ button, and voilà, the process starts. Check the files on Mac via the View option.
Transfer Files from iPhone to Mac Using iCloud Drive 
For those dealing with DOC or PDF files, iCloud Drive is a top-notch way to sync between your iPhone and Mac. Unlike iCloud Photos or Contacts, iCloud Drive is tailored for document sharing. ![]()
Supported content: Word, Excel, PPT, PDF files, etc.
How to Transfer Files Between iPhone and Mac 
Make sure you have a solid Wi-Fi connection and that both devices are updated.
- Sign in to iCloud with the same Apple ID on both your iPhone and Mac.
- On your iPhone, go to Settings > your name > iCloud and enable iCloud Drive and Photos.
- On your Mac, go to the Apple menu > System Preferences > iCloud and click on iCloud Drive.
- Now, open iPhone files on Mac via iCloud.com.
Conclusion 
So there you have it, guys! Multiple ways to transfer files from iPhone to Mac. Pick the one that floats your boat and fits your needs. Transferring files isn’t as daunting as it seems, right? Just keep in mind that the time it takes depends on the amount and size of files you’re moving.
Happy transferring! ![]()
