Keeping a backup of your files is traditionally done by copying it and transferring it into an external hard drive. For Mac users, Apple developed Time Machine, an app meant to store old versions of your files to be restored later. This article guides on restoring a Mac to a previous date using Time Machine for both M1 and Intel Macs. Additionally, it introduces Disk Drill for data recovery when no Time Machine backups exist. Stay tuned for our next detailed tutorial on restoring your Mac effectively.
Hey everyone! ![]() Ever needed to bring your Mac back to how it was a few days or weeks ago? Here’s a quick guide on how to restore your Mac to an earlier date using Time Machine, Apple’s built-in backup magic. Whether you’re on an M1 Mac or an Intel-based Mac, I’ve got ya covered! Let’s dive in.
Ever needed to bring your Mac back to how it was a few days or weeks ago? Here’s a quick guide on how to restore your Mac to an earlier date using Time Machine, Apple’s built-in backup magic. Whether you’re on an M1 Mac or an Intel-based Mac, I’ve got ya covered! Let’s dive in. ![]()
![]()
Why Bother Restoring Your Mac? 
Sometimes, our Macs just aren’t themselves – they slow down or start acting weird. Here are some solid reasons to hit that restore button:
 Retrieve Deleted Files: Accidentally trashed something important? We’ve all been there.
 Bring Back Old Versions: Need an older version of a file or folder? Pretty handy.
 Downloaded Something Suspicious: Oops, did that file have malware?
 Apps Acting Crazy After an Update? Updates can sometimes mess things up.
How to Restore Your Mac to an Earlier Date 
Got different methods depending on if you’re using an M1 or Intel-based Mac. Both are pretty straightforward, just follow along.
For M1 Mac Users 
If you’ve got one of those shiny new M1 Macs, Time Machine is your go-to. It’s built-in and super easy, assuming you didn’t turn it off before.
![]() Heads Up: Before you start, save all your recent stuff to an external drive!
Heads Up: Before you start, save all your recent stuff to an external drive!
Here’s how you do it:
- Turn off your Mac.
 Hold that Power button until the Startup Options screen shows up.
 - Hit Options and pick your account. Punch in that password.
- Once you’re in, choose Restore from Time Machine Backup.
- Pick the date you want to roll back to and follow the prompts from there.


For Intel-based Mac Users 
Got an older Intel-based Mac? No worries, Time Machine’s got your back too. The process is a tiny bit different.
Here’s how to roll with it:
- Completely turn off your Mac.
- Press the Power button and hold Command + R on the keyboard till a spinning globe pops up.
- Let go of the buttons, then log in with your Mac’s username and password.
- Choose Restore from Time Machine and let it guide you back in time.
And there you go! Whether you’re fixing weird issues or just getting back something lost, Time Machine makes it pretty painless.
If you need more details, you can see more info here.
Feel free to share your experiences or ask questions below! ![]() ### How to Restore from a Time Machine Backup on Your Mac
### How to Restore from a Time Machine Backup on Your Mac
Hey folks, if you ever find yourself needing to restore your Mac to an earlier state, the easiest way is through a Time Machine backup. Let’s walk through it!
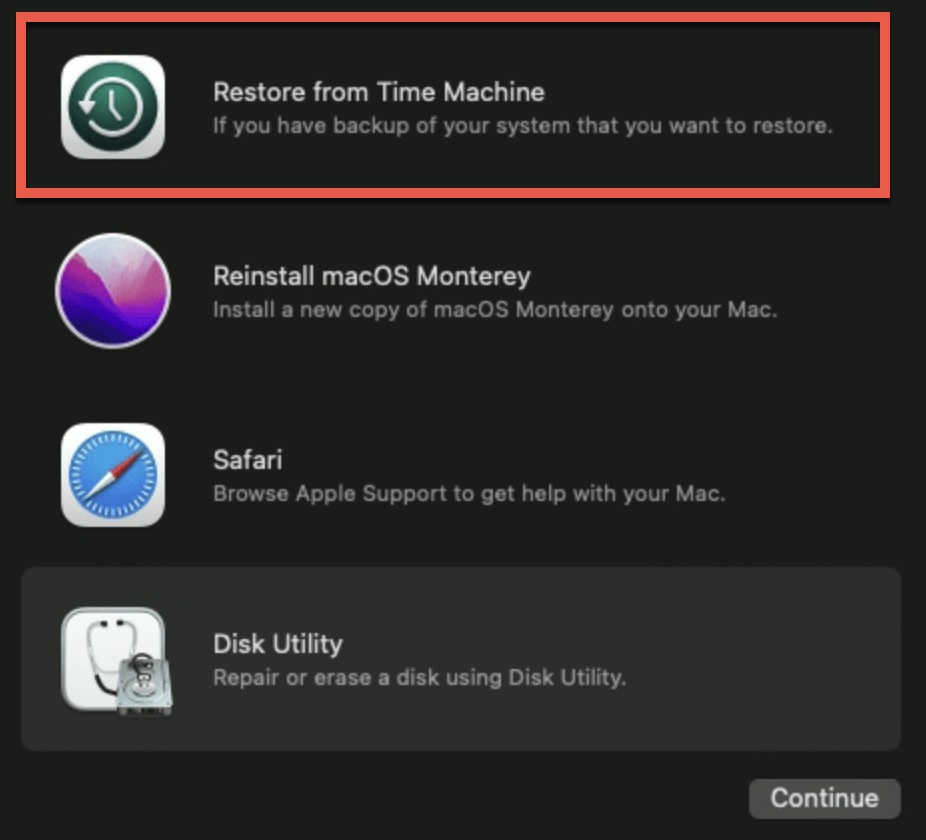
- Head to the Recovery Mode: Start by booting your Mac into Recovery Mode. You can do this by restarting your Mac and holding down the Command (⌘) + R keys until you see the Apple logo.
- Select Your Backup: Once in Recovery Mode, choose the ‘Restore from Time Machine Backup’ option. Pick the date you want to roll back to and follow the prompts on the screen.
Also, check this out: How to Restore Downloads Folder on Mac.
How to Get Your Data Back Without Time Machine
Okay, so you didn’t set up Time Machine? No worries, you can still recover your data with third-party software like Disk Drill. While you can’t restore your entire system to a previous state, you can get those important files back.
Using Disk Drill
Disk Drill is super handy for pulling back lost files even without a backup. It supports over 300 file formats and is really easy to set up.
Here’s what you need to do:
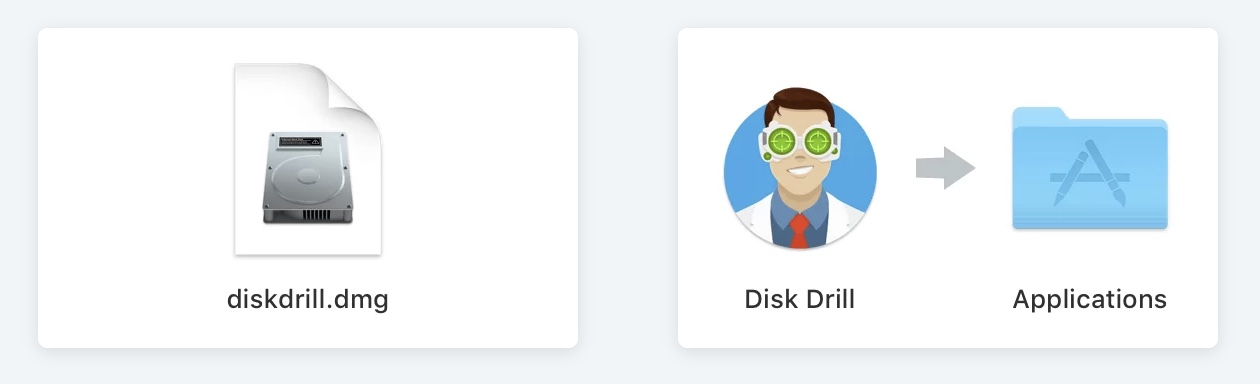
- Download and Install: First off, download Disk Drill for Mac from this link.
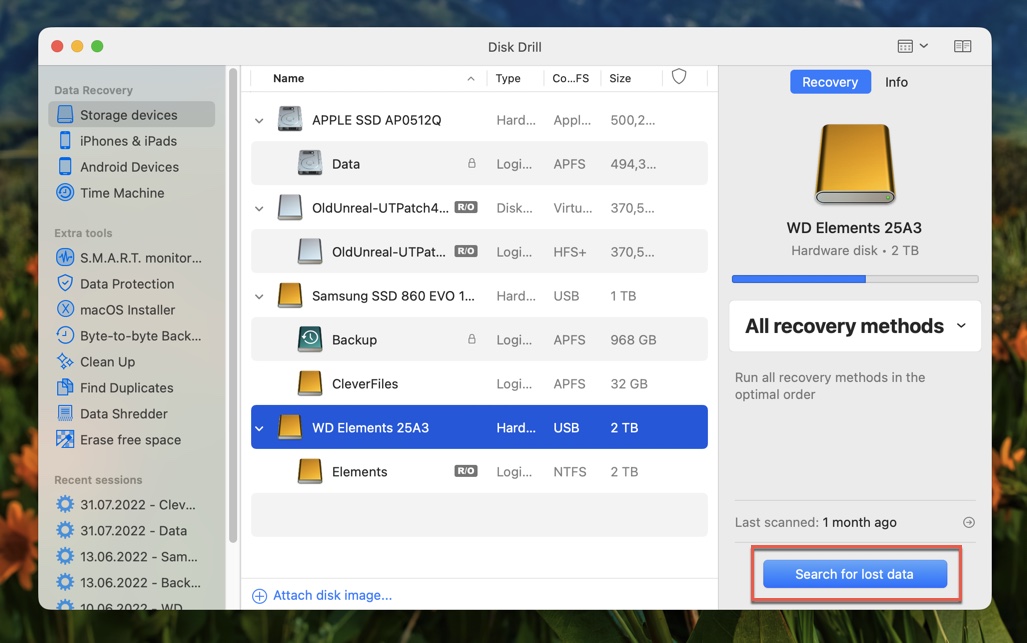
- Launch and Scan: Open up the app and pick the drive you want to recover files from. Hit ‘Search for lost data.’
-
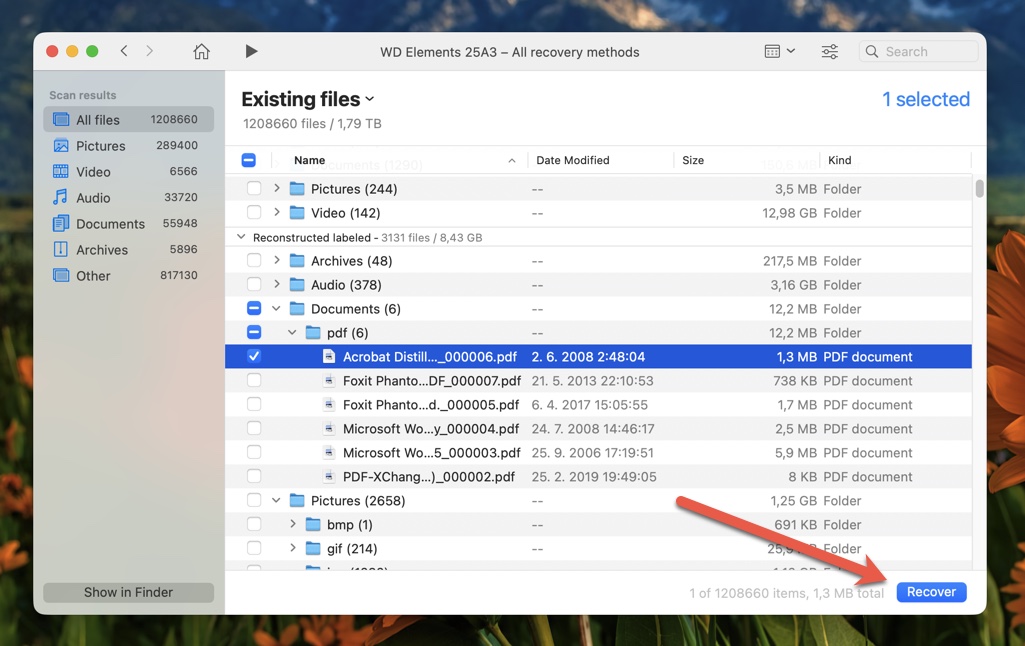
Scan Results: Once the scan is done, it categorizes your files. You’ll see:
 Pictures
 Videos
 Audio
Audio Documents
- Archives
-
Filter and Recover: Browse through the recoverable files, sorted by Name, Date Modified, Size, and Kind.
-
Restore Your Files: Click the Recover button for the files you want back. It’s at the bottom-right corner of the window.
- Choose Destination: Select where you want to save the recovered files and click OK. You’ll find them in the folder you picked on your Mac.
To unlock all of Disk Drill’s features, you’ll need to go for the Pro version. For more info on pricing, click here.
Conclusion
In a nutshell, if you want to roll back your Mac to an earlier date, having a Time Machine backup is essential. It’s the built-in method that makes things a breeze. But if you’re caught without a backup, Disk Drill is an awesome alternative for recovering your lost files. With support for over 300 file formats and a variety of recovery methods, it’s a great tool to have in your arsenal.
Hope this helps! ![]()