Have you deleted important files from a USB drive on your Mac? Don’t panic! This guide shows you how to recover deleted files, either from the Trash, backups, or using recovery software like Disk Drill. Quick action is vital to prevent file overwriting. If you can’t recover the files yourself, consider professional data recovery services. Stay tuned for our next detailed tutorial on optimizing file recovery methods on Mac.
Hey folks! Accidentally deleted some important files from your USB flash drive on your Mac? No worries, you’re in the right place. I’ll show you how to get those files back, with and without using any special software.
 Why Can We Recover Deleted Files from a USB on a Mac?
Wondering if recovering deleted files from a USB on your Mac is too good to be true? Nah, it’s totally legit! Here’s why:
When you delete a file from your USB drive on Mac, it doesn’t just disappear. Here’s the lowdown:
- First Stop: Trash - When you delete a file, it heads to the Trash. While it’s chilling there, you can just restore it without any fancy tools.
- After Emptying Trash - Even after you empty the Trash, the file isn’t completely wiped out. Your Mac just removes the reference to it, but the actual data remains on the drive. You can still recover it using data recovery software.
- Overwriting Issue - The file data only truly vanishes when new data overwrites the old spot on the flash drive. At that point, recovery is impossible.
So, act fast before the Trash is emptied or your file gets overwritten.
 How to Recover Files from USB Without Software
Let’s kick things off with the simplest way to get those files back—no software needed.
 Retrieve Your Files from Trash
As mentioned, deleted files first land in the Trash. Here’s how to recover them:
-
Connect USB Drive - Plug in the USB with the missing files to your Mac. Each drive has its own hidden
.Trashesfolder. -
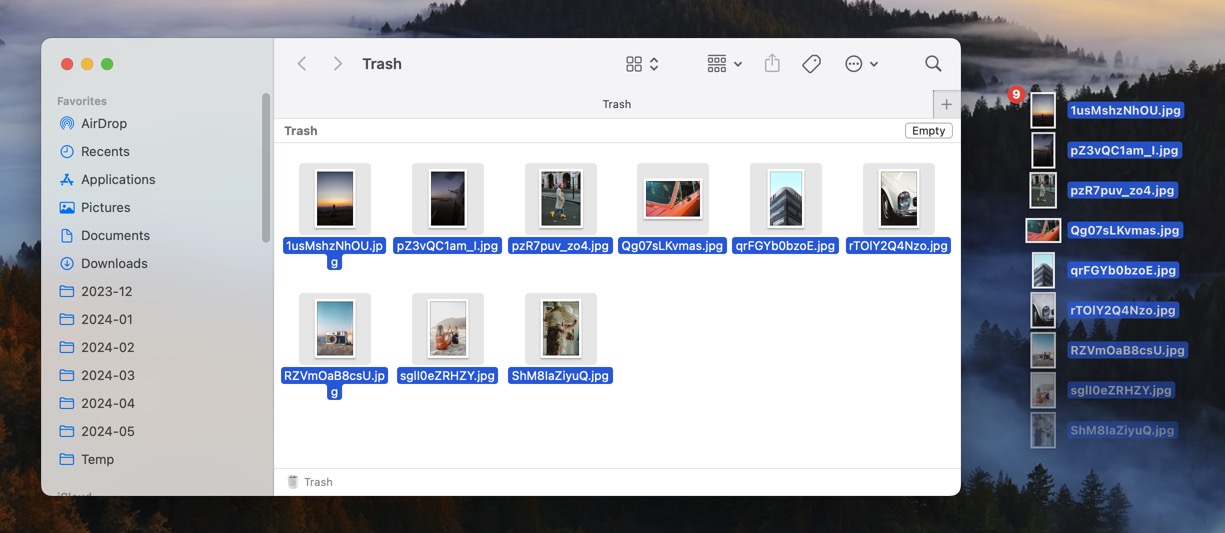
Open Trash - Click the Trash icon in your dock. You’ll see all deleted files from your Mac and connected USB drives.
-
Find Your Files - Look for the files in Trash. Use the search bar if there’s a lot to sift through.
-
Restore Files - If you find them, drag and drop them back to your USB drive or right-click and select ‘Put Back.’

 Dig Through Your Backups
If the Trash doesn’t have your files, it’s time to check your backups.
Most Mac users have Time Machine set up to automatically back up their system. Even though USB drives aren’t included by default, files transferred to/from the system drive might have been backed up. Here’s how to check:
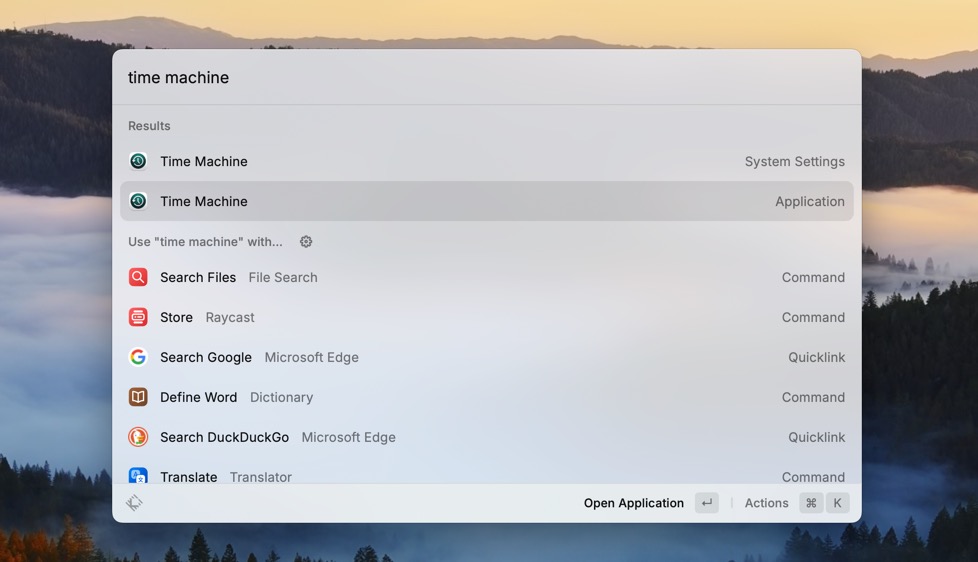
- Open Time Machine - Press
Command + Spacebarand type “Time Machine.” - Search Backups - Browse through the backups for the files you need. You might just get lucky!
Keep this info handy for any future mishaps! For detailed guidance, you can see more details here: Apple Support Time Machine.Hey folks! Need help with lost files from your USB stick? You’re in the right place. Here’s how you can recover those precious files, either using backup methods or recovery software. Let’s dive in!
 Using Time Machine to Recover Files
- Open Time Machine: Hit up Time Machine by typing its name in Spotlight and hitting Return.
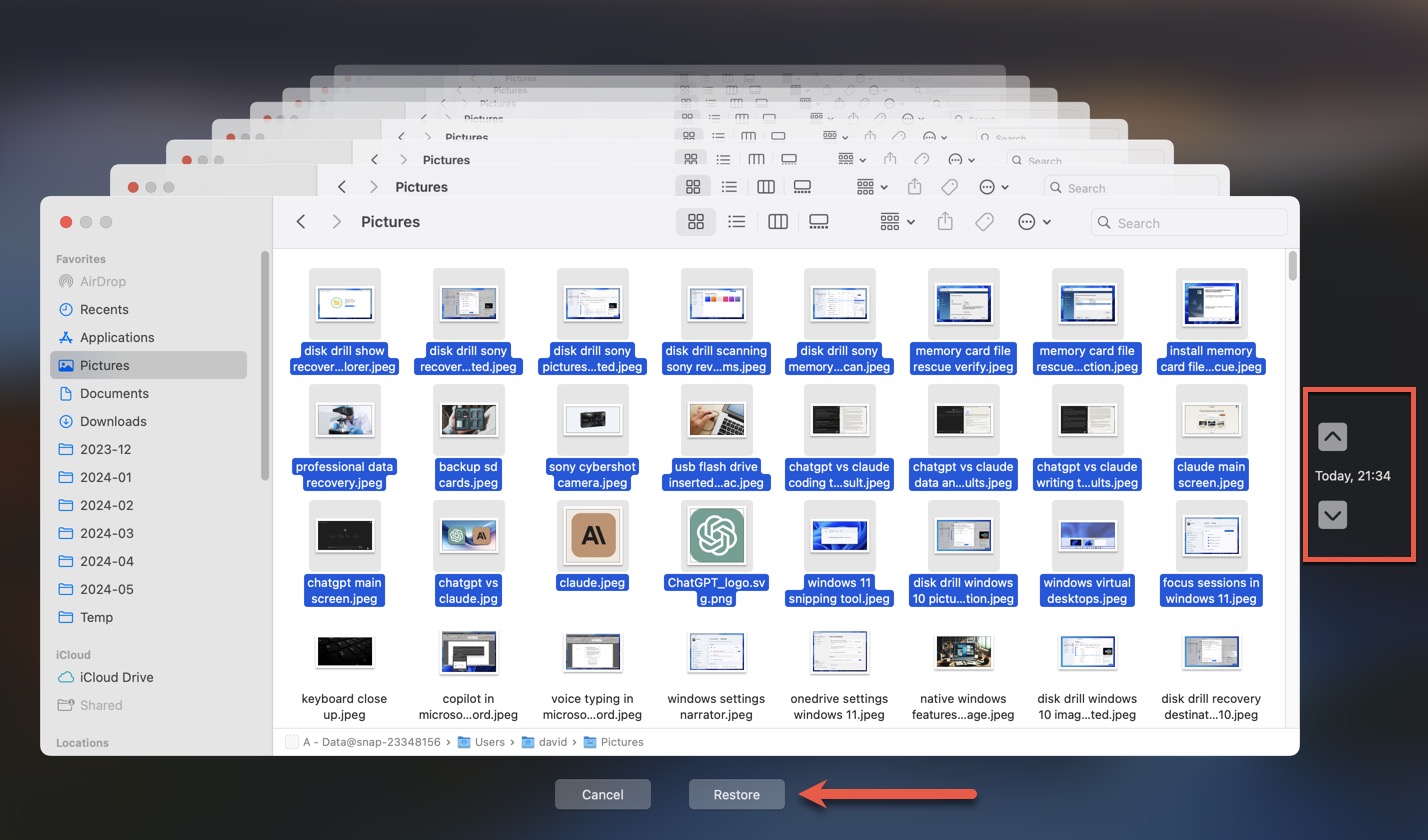
- Navigate Locations: Head to where you think your files were stored.
- Browse the Timeline: Use the timeline on the right to go back to a date when the files existed on your USB drive.
- Restore Files: Found them? Click ‘Restore’ at the bottom.
Besides Time Machine, don’t forget to comb through any manual backups you’ve got on external drives, NAS devices, or other USB sticks. And hey, check your cloud storage services like iCloud, Google Drive, Dropbox, or OneDrive.
Professional Help
Photo by Anete Lusina
If software isn’t your thing, pros got your back. These companies have fancy tools and know-how to pull off data recovery miracles. Just be prepared—they can be pricey, and success isn’t 100% guaranteed.
 Recover Files with USB Data Recovery Software
If backups and pros don’t work out, USB data recovery software might be your knight in shining armor. One of the best tools out there is Disk Drill for Mac.
Why Disk Drill?
- Broad File Format Support: Handles 400+ file formats.
- File System Compatibility: Works with all USB drive file systems (FAT, FAT32, exFAT, etc.).
- Ease of Use: Super intuitive interface—it’s like Apple made it.
Here’s how you can use Disk Drill:
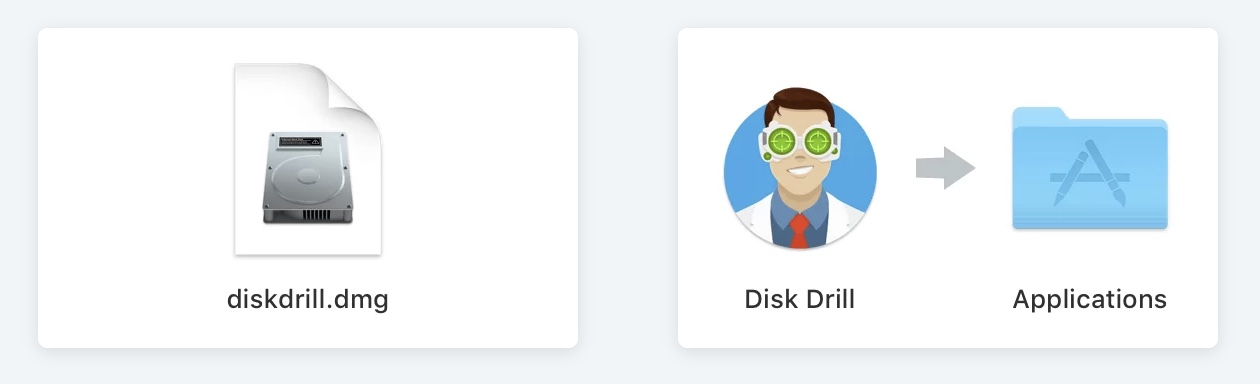
- Download & Install: Grab Disk Drill here and install it on your Mac.
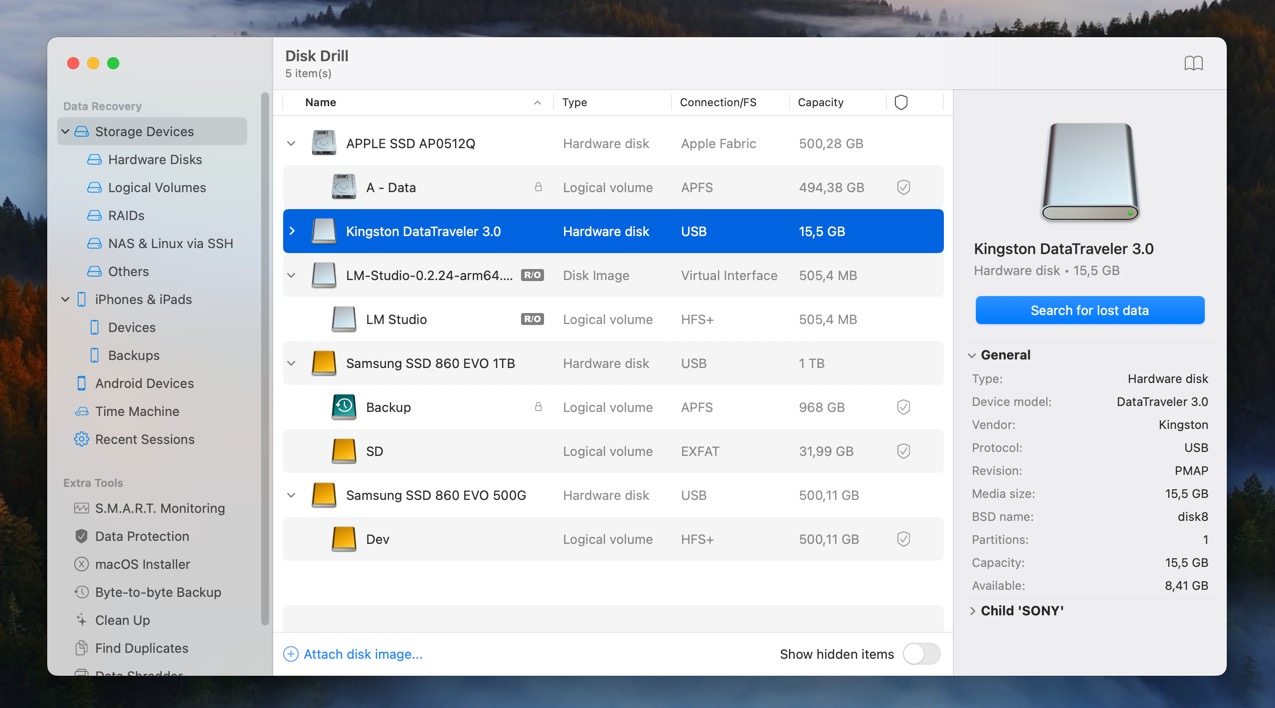
- Connect USB Drive: Hook up your USB stick.
- Launch & Scan: Open Disk Drill, pick your USB drive, and hit ‘Search for lost data.’
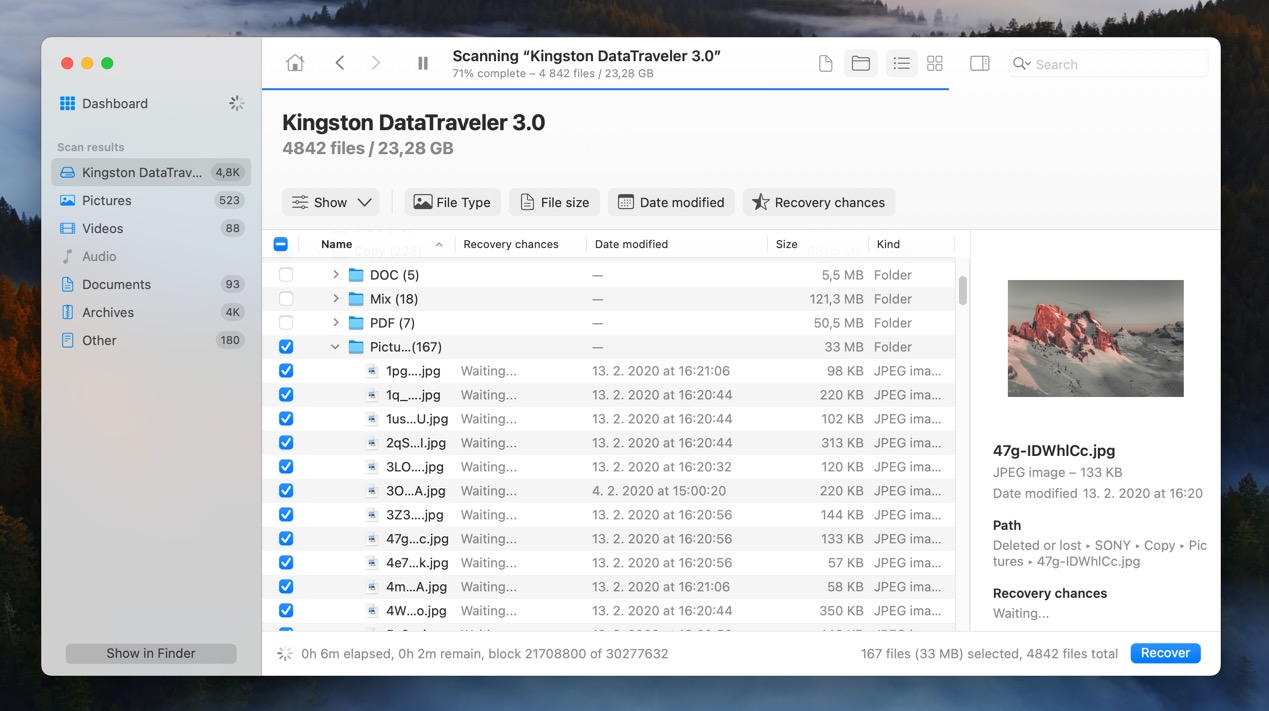
- Select Files: Choose what you want to recover. Use filters if needed to narrow down your search.
- Recover Files: Click ‘Recover’ and choose a spot to save your files, preferably not on the same USB stick.
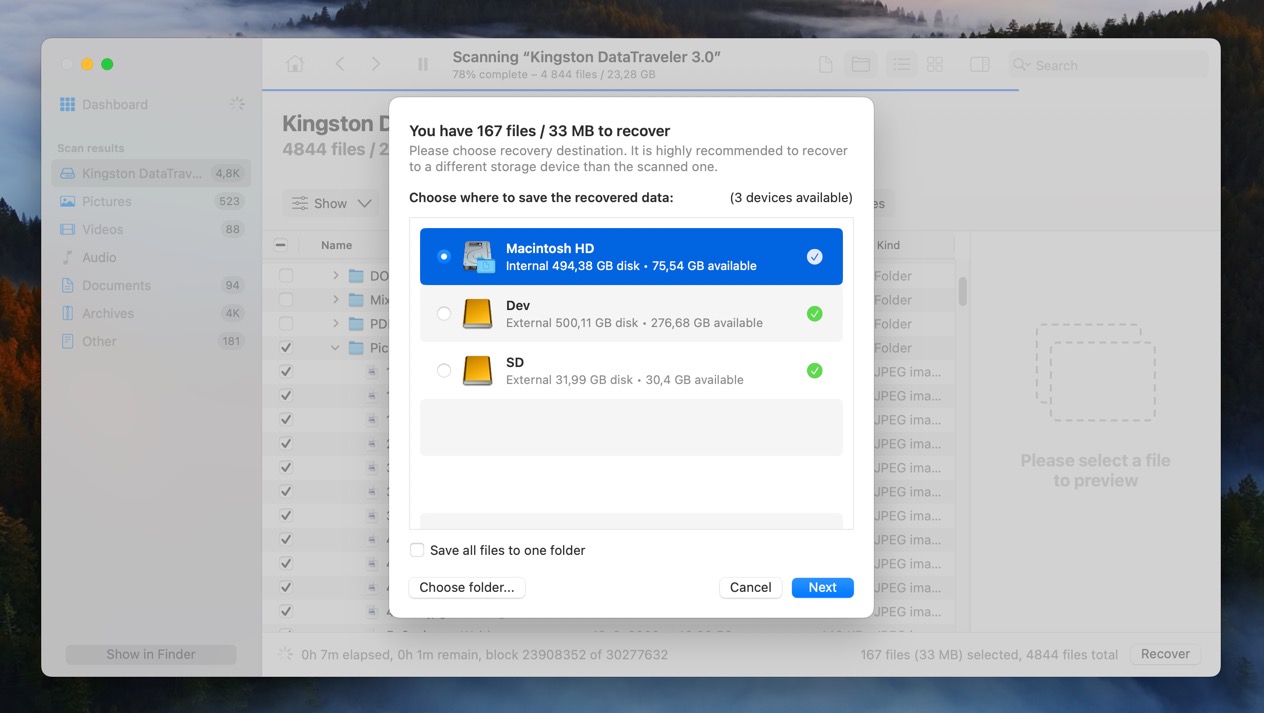
Disk Drill lets you preview unlimited files for free. To recover them, you’ll need to buy a license, but it’s a one-time deal—you buy once and can use it forever!
 Conclusion
Losing files sucks, but don’t lose hope! Backup methods, professional services, and software like Disk Drill give you a fighting chance to get those files back. Follow these steps, and you’ll likely be able to recover your precious data.
Got questions or tips? Share them below! ![]()