Thanks to Wi-Fi, you can now mirror your Mac to your TV easily. Popular methods include AirPlay, JustStream, AirBeamTV, and LetsView. For simplicity, AirPlay is great but relies on a stable Wi-Fi. JustStream and AirBeamTV offer more features. HDMI cables remain the best for low latencies. Most options need devices on the same Wi-Fi network. Choosing the best method depends on your needs. Stay tuned for a more detailed tutorial in the next forum post!
Hey everyone! ![]()
Ever tried sharing something cool from your Mac with friends or coworkers but didn’t have the right dongles? No worries, Wi-Fi saves the day! Now you can mirror your Mac to TV with just a click.
Tons of tools can help you out, and some even have extra bells and whistles. Here’s the lowdown on how to screen mirror your Mac to a TV and some alternatives you might dig.
User Scenario:
Been gaming on my Macbook Pro, but my desk setup’s got me staring down at the screen – hello, neck pain! A bigger screen just sounds better. I know I could use the HDMI port, but wireless would be way cooler. Super simple to mirror my laptop’s screen, right? — Reddit
How to Mirror a Mac to TV: Tips You Should Know 
Here are some tips for a smooth Mac mirroring experience:
- Pick the right connection method depending on your Mac and TV. Options include HDMI, AirPlay, Chromecast, or third-party apps.
- Enable screen mirroring on your Mac: System Preferences → Displays → Layout tab → Mirrored Displays.
- Ensure both devices support the same tech to dodge any hiccups.
- Using HDMI? Connect your Mac to your TV via a cable. Older MacBooks may need an adapter.
- For wireless options like AirPlay, make sure both devices are on the same Wi-Fi network.
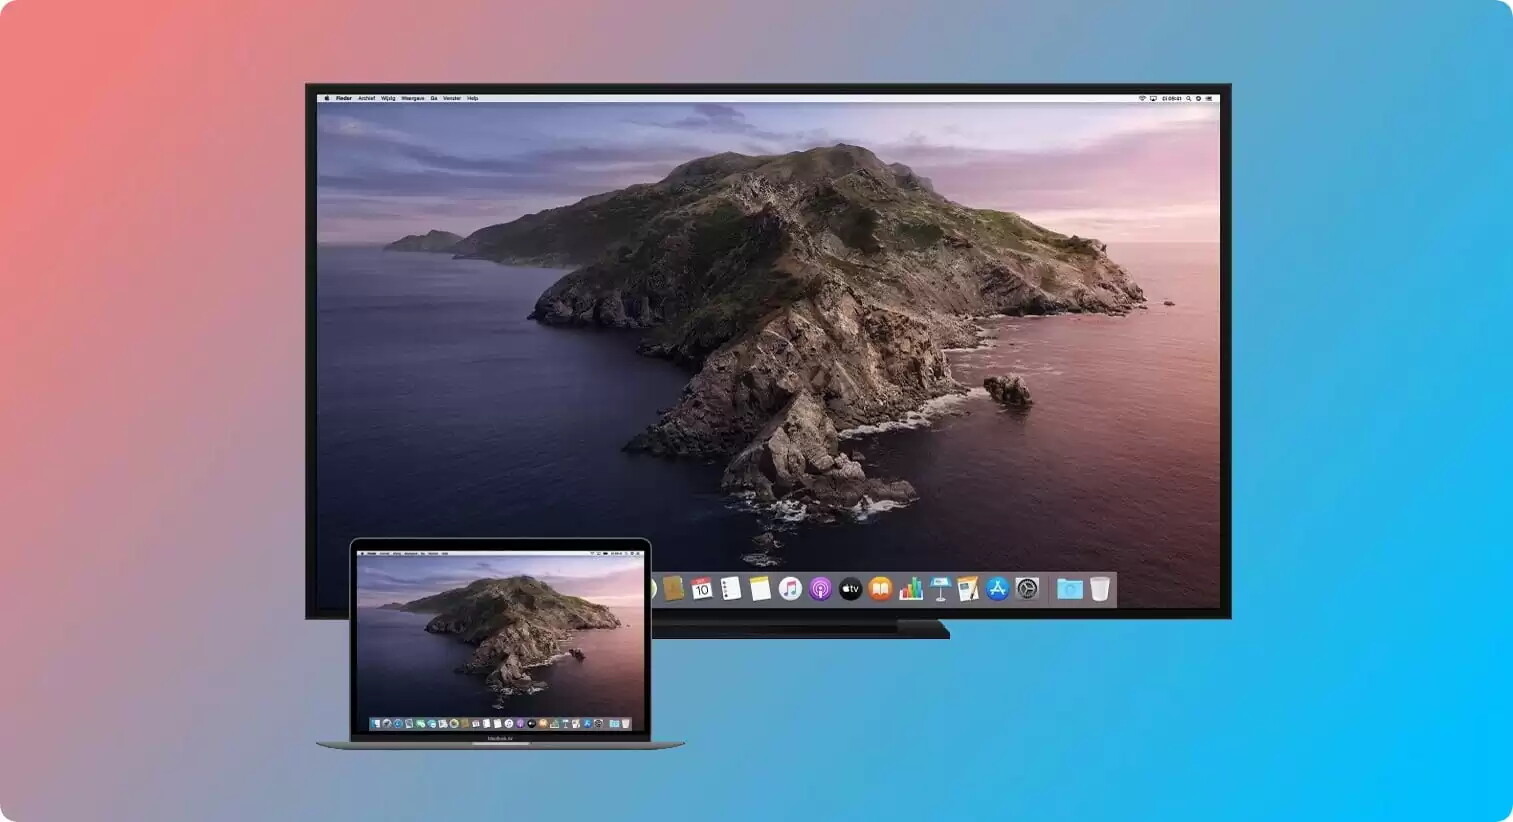
The Easiest Way to Mirror MacBook to TV – AirPlay 
AirPlay is Apple’s built-in tool for mirroring your Mac. Ensure your TV supports AirPlay (most smart TVs post-2016 should). Follow these steps:

- Same Wi-Fi network: Ensure your Mac and TV are on it.
- Click the screen share icon on your Mac (top right corner).
- Select your TV from the available options to mirror.
- Enter the security code that pops up on your TV into your Mac.
- You can also use your TV as a separate display.
Pros:
- Fully compatible with the Apple ecosystem

- Awesome audio and video quality

- Super easy setup
Cons:
- Needs a reliable Wi-Fi connection

- Only works with Apple devices
- Might experience occasional lag

Connect Your Mac to TV with JustStream
Looking for an alternative? JustStream offers more control over what you stream to your TV. It supports Chromecast and DLNA devices, and it’s lightweight!
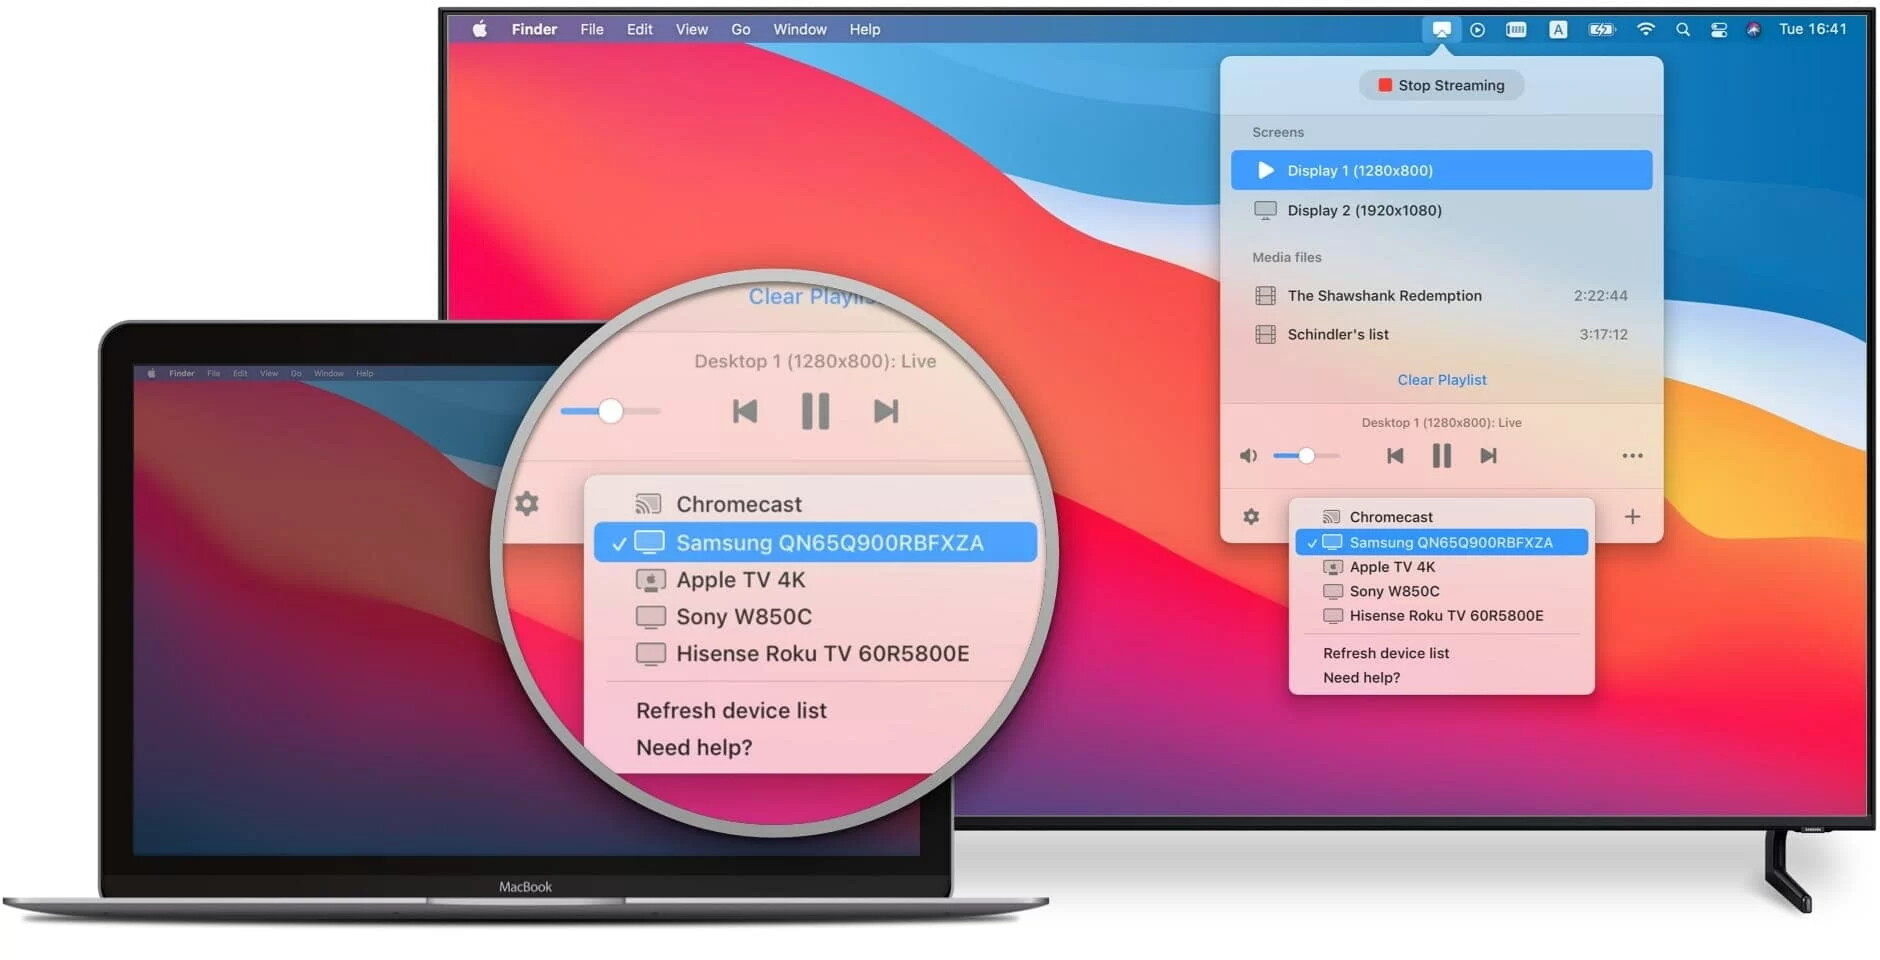
Here’s how:
- Download and install the app on your Mac.
- Run the app.
- Click the ‘+’ button to select a file or build a playlist.
- Choose the display from the ‘Screens’ menu.
- Start Streaming and enjoy!

Pros:
- Streams any video file to AirPlay or Chromecast

- Mirrors both audio and video

- Desktop mirroring support
Cons:
- Free version only allows 20 minutes of uninterrupted streaming

Mirror Mac to TV Using AirBeamTV
Another great option is AirBeamTV, perfect for casting movies, shows, music, and photos. It’s easy to install and has a good trial period.
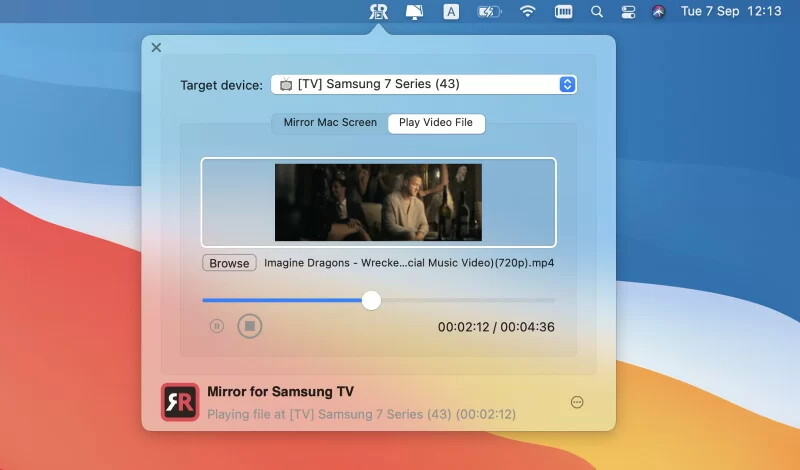
Steps:
- Download and install the app.
- Connect both devices to the same Wi-Fi network.
- Open AirBeamTV and select the display to mirror.
- Choose your files and stream away with a click.
- Extended desktop support is also available.
Pros 
- Runs super smooth
- Works with a bunch of devices—smartphones, tablets, and computers
Cons 
- The free trial doesn’t have many features
- Need separate apps for each streamer
Screen Mirroring Mac to TV with LetsView
So, you want to hook up your Mac to your TV wirelessly? If you’re looking for a solid alternative to AirPlay, you should totally check out LetsView. It’s perfect for mirroring, hanging out with friends, doing school projects, or just streaming live. LetsView gets the job done without a cable, smoothly.
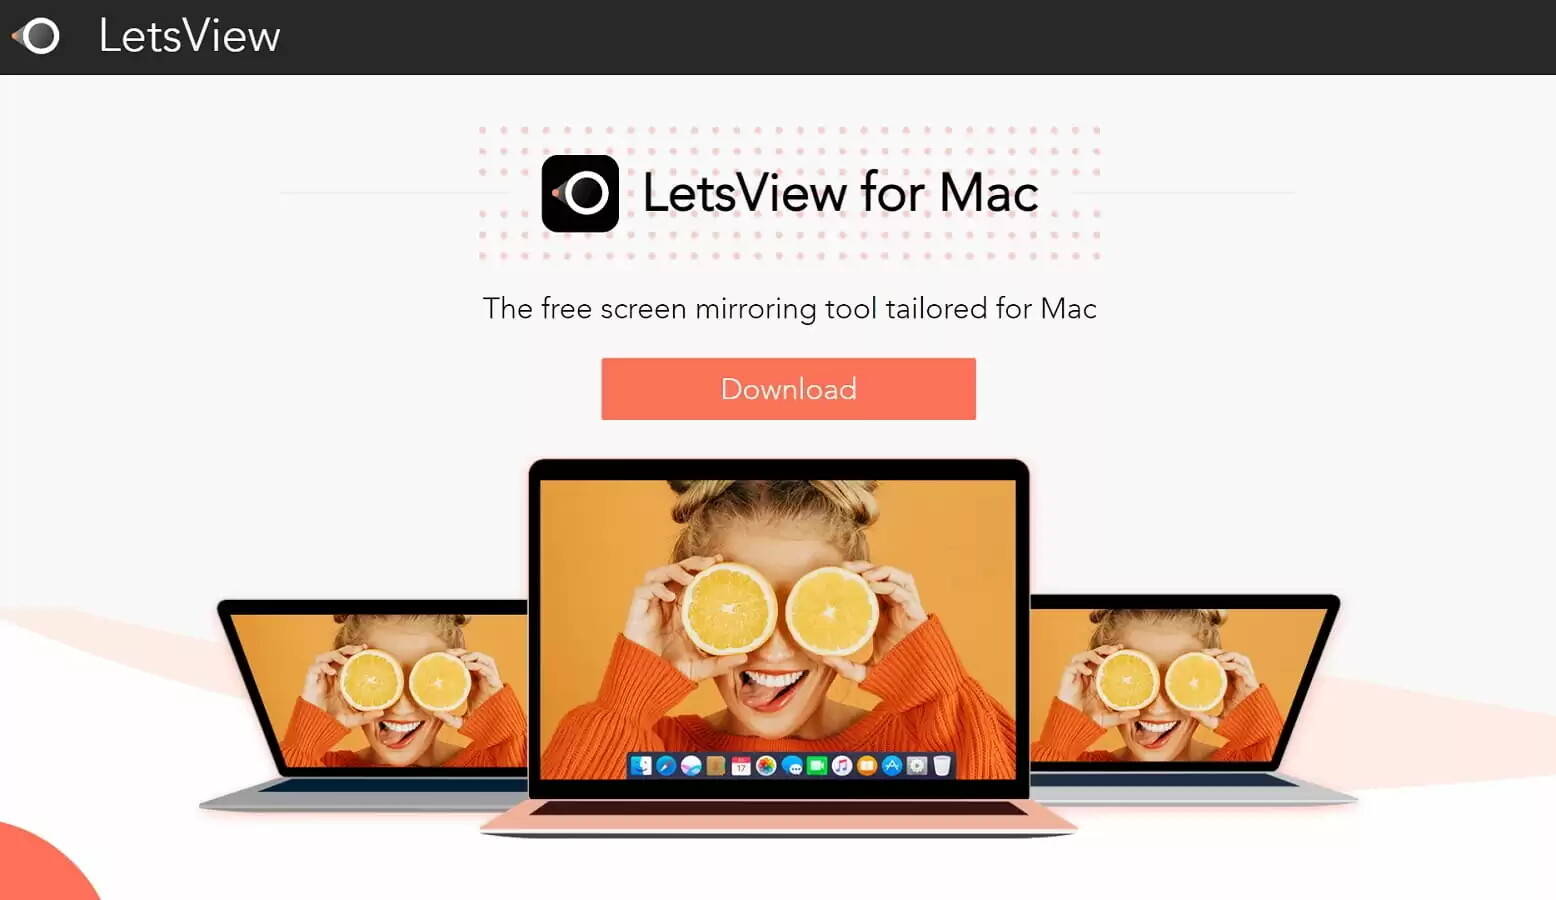
You can even stream your favorite games to your TV and broadcast your laptop camera at the same time—ideal for live streaming! It’s super easy to use and install. Just open it up, and connect your MacBook to your TV by following these steps:
- Install and launch the app on both your Mac and TV.
- Make sure both devices are on the same Wi-Fi network.
- Run the app on your TV and select ‘Computer Screen Mirroring.’
- Enter the pin displayed on the TV, and you’re set to go.
Pros
- Works with many devices and OS
- Super user-friendly
- Free for personal use
Cons
- Some users report occasional stability issues
- The app has some pop-up ads
How to Mirror a Mac to TV Using an HDMI Cable 
Want to keep things simple? Using a cable might be the best and most reliable way to get that video signal from your Mac to your TV. The good old HDMI cable is the way to go (some Macs might need a mini HDMI). Just plug it into your Mac and TV, and boom, your content’s up on the big screen—instantly.

The biggest perk of using an HDMI cable over wireless options is zero delay. Wireless options like AirPlay do have a bit of lag, which could be annoying if you’re streaming games.
- Connect your Mac to the TV with the cable.
- Go to ‘System Preferences’ and select ‘Displays.’
- Click ‘Default for display’ in the window that pops up.
- For audio, go to ‘System Preferences’ > ‘Sound’ > select the connected TV.
Pros
- Versatile and super easy to use
- High-def audio and video support
- Direct connection means an easy setup
Cons
- Cable length can be limiting
- Only works one-way from Mac to TV
Types of TV Ports
Just like with Apple laptops, TV ports can vary by model and brand. But most TVs usually have these common ports:
- HDMI Ports: Used in a ton of electronics; it’s the most common video port. Newer TVs, monitors, and laptops usually have HDMI. It carries both video and sound.
- DisplayPort: Designed mainly for computers, it handles both audio and video signals like HDMI. Not commonly found on TVs but great for high-res monitors.
- DVI Ports: Mainly for connecting monitors to PCs. Less common on TVs and laptops. It provides great picture quality like HDMI but usually doesn’t carry sound.
- VGA Ports: Pretty old-school, only transmits analog signals. You’ll find these on older systems but not much on newer TVs, computers, or monitors anymore.
Conclusion 
So there you have it! Connecting your Mac to your TV has never been easier with these AirPlay alternatives—whether you go wireless or use a cable. Each method has its pros and cons, but if low latency and high picture quality are your priorities, a cable might be your best bet.
Most TVs nowadays support wireless connections, and that trend isn’t going anywhere. Not everyone has a cable lying around and many might not mind the wireless downsides.
Got any more tips or thoughts? Jump into the discussion below! ![]()